Your blog feed for digital manufacturing resources, in-depth features, and industry news.
Shifter PRNDL Installation Guide: A Step-by-Step Approach
Table of Contents
Introduction
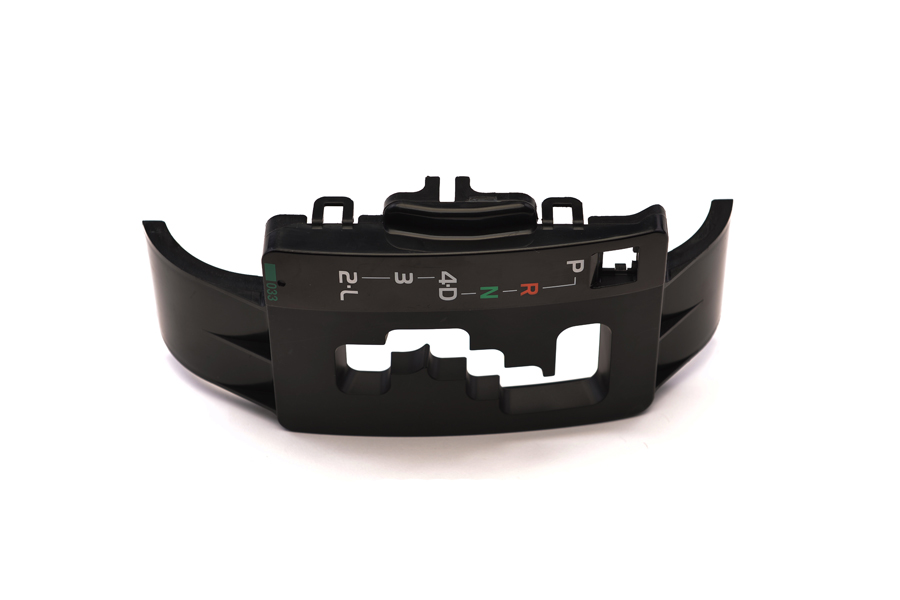
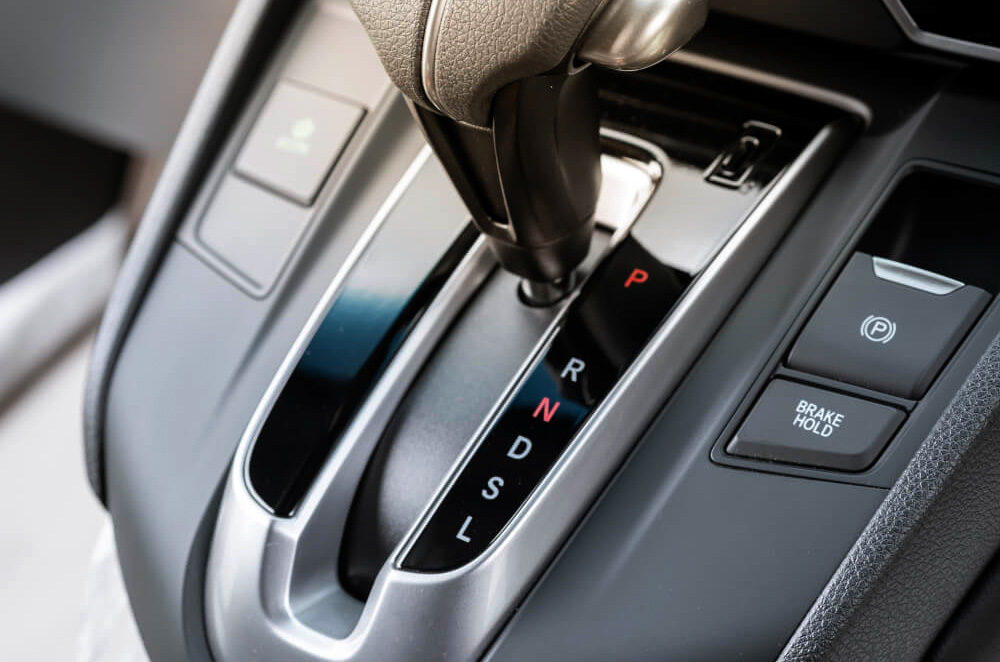
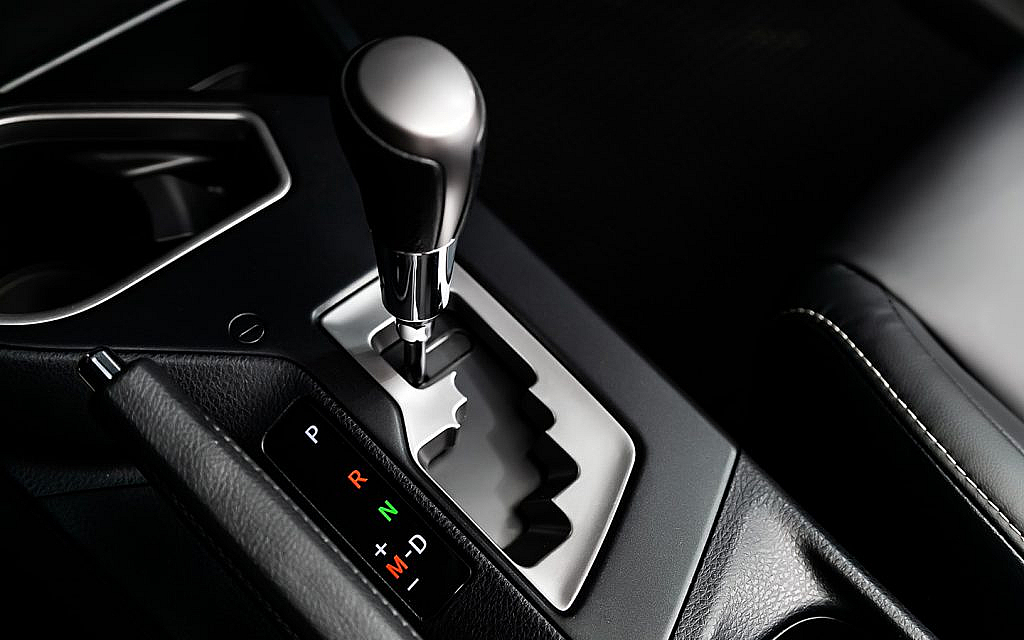
The Shifter PRNDL system is a crucial part of every vehicle, allowing drivers to smoothly shift between gears and control their vehicle’s movement.
Whether you’re upgrading an existing system or installing a new Shifter PRNDL, it’s important to follow the correct installation steps to ensure safety, reliability, and performance. Here’s a simple guide to help you with the Shifter PRNDL installation process.
Preparation: Gather Your Tools and Parts
Before you start the installation, make sure you have the necessary tools and components:
- Shifter PRNDL System (including the gear selector and all accompanying parts)
- Plastic injection-molded components (if required)
- Basic hand tools such as wrenches, screwdrivers, and pliers
- Vehicle-specific installation manual (if available)
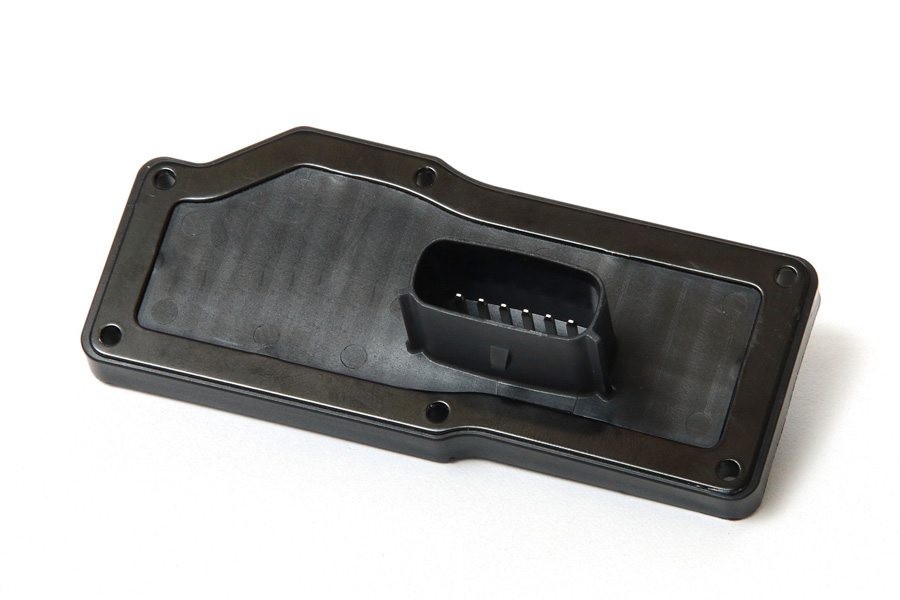
- Wire harness (for electronic systems)
- Fasteners and clips (provided by the manufacturer)
Ensure that the vehicle is turned off, the battery is disconnected, and the parking brake is engaged.
Remove the Existing Shifter (if applicable)
If you’re replacing an old or malfunctioning Shifter PRNDL, follow these steps:
- Remove the gear shift knob or lever by unscrewing or detaching it from the system.
- Disconnect any wiring: For electronic Shifter PRNDL systems, disconnect the wiring harness that powers the electronic controls.
- Remove the mounting screws or fasteners securing the Shifter to the console or dashboard.
- Carefully detach the Shifter assembly from its mounting position.
If you’re installing a new Shifter PRNDL in a vehicle without an existing one, skip to the next step.
Install the New Shifter PRNDL Assembly
- Position the new Shifter: Place the new Shifter PRNDL assembly into the designated area on the vehicle’s console or dashboard.
- Secure the Shifter: Use the provided fasteners, screws, or clips to firmly attach the Shifter to the mounting bracket or console. Ensure it is properly aligned and stable.
For electronic Shifters, be extra careful with the positioning of the wires. Ensure they are connected securely to the vehicle’s control system.
Connect the Wiring (For Electronic Systems)
If you’re installing an electronic Shifter PRNDL, follow these steps to connect the wiring:
- Connect the wire harness: Carefully attach the electronic wiring from the Shifter assembly to the corresponding connectors in the vehicle’s control system.
- Check for power: Make sure the wiring is correctly routed and connected to avoid any electrical issues.
- Test the system: Before reassembling the console, test the system by turning the vehicle on (without starting the engine) and checking for proper gear indicator lights and functionality.
Reliability and Timely Delivery
Reliability is key in any supplier relationship. A good Shifter PRNDL vendor will ensure that you receive high-quality components on time, every time. Delays in the supply chain can affect your production schedule and lead to costly setbacks. Choose a vendor who can consistently meet deadlines, provide real-time updates, and quickly address any issues that arise.
Install the Gear Shift Knob or Button
Once the assembly is secured, attach the gear shift knob or button to the Shifter. Ensure it’s tightened and seated properly for ease of use and durability.
- For traditional Shifter levers, simply slide the knob onto the lever and screw it into place.
- For push-button or rotary dials, follow the specific manufacturer instructions for securing the controls.
Reassemble the Vehicle Console or Dashboard
Once the Shifter is securely installed, reassemble the surrounding console or dashboard components:
- Reconnect any remaining panels or coverings that were removed during the installation.
- Ensure all screws and clips are fastened securely to avoid rattling or instability.
Reconnect the Battery and Test the System
After everything is reassembled, reconnect the vehicle’s battery:
- Turn on the ignition and check the Shifter PRNDL for correct operation. Shift through all the gears (Park, Reverse, Neutral, Drive, and Low, if applicable) and ensure that the vehicle shifts smoothly and the indicator lights function correctly.
- Test safety features: If your Shifter includes a safety lock mechanism (like preventing shifting out of Park without pressing the brake), ensure it works as intended.
Final Check and Calibration
For electronic Shifter PRNDL systems, it’s important to check for proper calibration. Some systems may require calibration to align the gear positions or ensure that electronic sensors work correctly:
- Follow the manufacturer’s instructions for calibration, if applicable.
- If you notice any misalignment or unusual behavior (e.g., the gear display doesn’t match the actual gear position), refer to the vehicle’s service manual for troubleshooting or consult a professional technician.
Complete the Installation
Once everything is checked and working properly, finalize the installation:
- Recheck all fastenings and ensure the Shifter is securely mounted.
- Dispose of any packaging materials and tools.
- Clean up the work area and ensure everything is back in place.
Conclusion
Conclusion
Proper installation of the Shifter PRNDL system is critical to ensure that it functions correctly and provides a safe, smooth driving experience. By following this step-by-step guide, you can confidently install or replace a Shifter PRNDL in your vehicle. Whether you’re installing a traditional lever or a modern electronic system, taking the time to carefully follow each step will ensure optimal performance.
- Aerospace
- Agriculture
- Alternative Energy
- Automotive
- Building and Construction
- Chemical
- [email protected]
- +86 153 0262 2329
- Mon-Sun 8:00-22:00

