Your blog feed for digital manufacturing resources, in-depth features, and industry news.
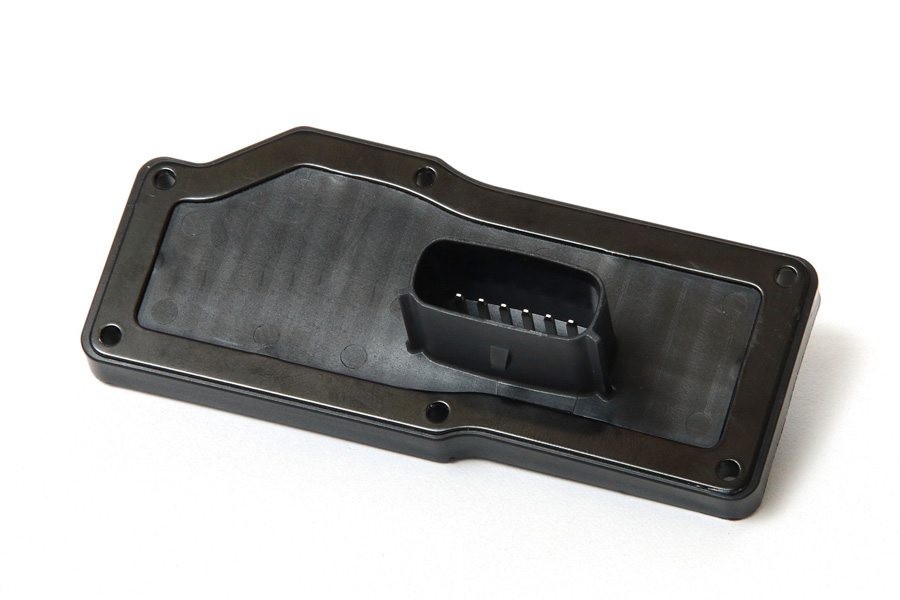
These covers are essential for protecting the delicate components of a PCB pump, ensuring both longevity and performance. But how exactly are PCB pump covers made? Let’s break it down!
The first step in manufacturing PCB pump covers is designing the product. A well-thought-out design ensures that the cover will properly protect the PCB, fit the pump components, and allow for easy assembly and disassembly. Key considerations include:
When it comes to materials, plastics are often the go-to choice for their durability, lightweight nature, and corrosion resistance. Common choices include ABS, polycarbonate, or nylon. For more heavy-duty applications, metal covers (such as aluminum) can be used.
For plastic covers, manufacturers will create an injection mold based on the design. This mold is the key to mass-producing identical covers. The mold is carefully crafted with the right tolerances and features to allow the plastic to flow smoothly and set properly.
If the cover is made from metal, then CNC machining is used to cut and shape the material. Precision is crucial to ensure that all holes, edges, and mounting points are accurate.
For proper functionality, PCB pump covers often include various integrated features:
Once the covers are made, it’s time for testing:
These tests help catch any issues before the product reaches the customer, ensuring the highest level of quality.
After successful testing, the covers are packaged carefully to prevent any damage during shipping. Depending on the customer’s needs, branding or labels can be added, and the final product is ready for delivery.
Manufacturing high-quality PCB pump covers requires precision, the right materials, and a smooth production process. Choosing a reliable plastic injection molding manufacturer can ensure that your pump covers are durable, cost-effective, and meet all your specifications.
If you’re looking to manufacture PCB pump covers that protect your PCB while offering long-term performance, don’t hesitate to get in touch with us. We specialize in precision manufacturing and are ready to help you bring your product to life!
Your blog feed for digital manufacturing resources, in-depth features, and industry news.
31 Southlands Road
POLESWORTH
B78 0FL
We will reply to you in 20 minutes.
Our team is online, can be helpful for you.
Our team is online, can be helpful for you.
Didn’t find what you want? Ask our leader for help directly!